The number one secret to flawless self-tanner application is hydrated skin. That’s it, it really is that simple. Faking it is far easier than you think and with this guide, you’ll be streak-less and orange-free. I’m giving you the low-down on how to apply self-tanner without getting caught tan-handed. Follow these 10 steps and you’ll be left with a beautiful natural-looking tan.
Step 1. Select the right self-tanner.
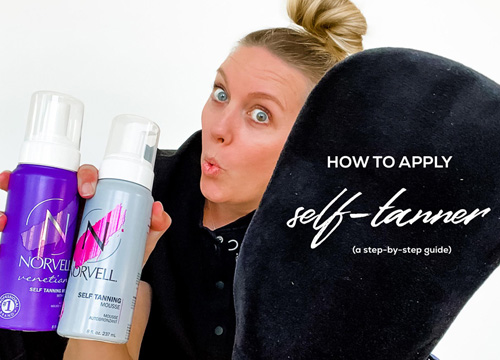
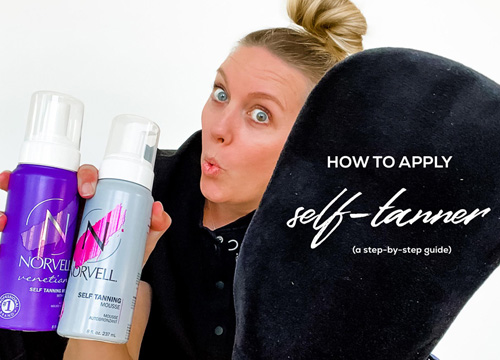
Tinted Mousse and Mitts. That’s it; the key to success is selecting a tinted mousse and using a mitt. Tinted mousse allows you to easily see where you are applying the product and the mitt ensures streak-less coverage without all the product appearing on the palm of your hand.
Now, which one? Our Master Aesthetician, Haley Trudeau, is a self-tanning guru. Not only is she licensed and trained for spray tanning but her vast research on finding the perfect at-home tanning solutions led her to Norvell. Norvell is rated the #1 sunless tanning brand by professional spray tan artists. She loves the at-home product because you can easily see where you are applying it, you can get the bronze color you are looking for without the orange undertones, and it lasts up to a week.
Both the Norvell Self-Tanning Mousse and the Venetian Self-Tanning Mousse with Bronzer are available for purchase in spa.


If you are concerned about bronzer rubbing off on everything the Vita Liberata Invisi Foaming Tan Water (available in dark and medium) might be a great option. The downside is it is clear so until you have the art of application down you can end up with some unevenness.

Step 2. Prep the night before.
What is the number one secret? You answered hydration, right? The key to hydrated skin is exfoliating and moisturizing. You want to prep the night before, so your skin is calm, hair follicles are “closed” post shaving, and your moisturizer is not creating a barrier.
Begin with a sugar scrub. Using a silicone “brush” start at the bottom of your body and work your way up using circular motions. Pay extra close attention to the areas around your ankles, knees, and elbows that tend to be drier – otherwise, those areas will end up being darker than the rest of your body.
Next, shave your legs (or any other area that you want hairless and bronzed). Shaving is important because it allows the product to evenly spread and not settle around the course hair. Have you ever seen someone who looks like they have spots or chicken skin post self-tanning? This is because they didn’t shave or immediately applied their self-tanner after shaving.
Pro Tip: If you forget to shave and need to shave right before applying self-tanner, then use ICE CUBES and rub it all over where you shaved to close the follicles!
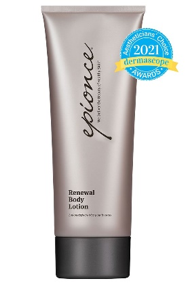
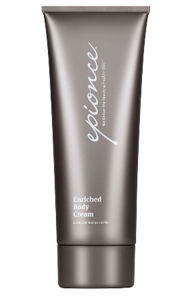
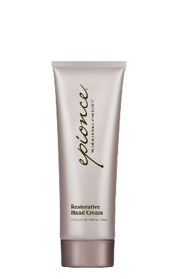
Finally, apply your body moisturizer. For the self-tanning solution to cover evenly you need to have soft, well-hydrated skin. Our favorite hydrating body lotion is Epionce Renewal Body Lotion. They also have a cream if you need extra hydration. If you are experiencing crepiness, glycation, and or laxity we would also incorporate Alastin Transform or DefenAge Pro 10 Luxe Hand and Body Cream.
Step 3: Create a barrier.
Right before application, apply lotion to your hands from your wrist to your fingertips (palms and back of hands), on the backs of your heels, and on your elbows and knees. These areas tend to be dry and will absorb more product than other areas of your body, causing unevenness.
Pro Tip: If you have large pores or dry skin, you should also apply a moisturizer on your face 20 minutes before applying your self-tanner.
Step 4: Always use a tanning mitt.
This protects your hands from turning “orange.” The palms of your hands don’t naturally tan, so if your palms are covered in self-tanner, it will give away your secret. Using the mitt also ensures a nice even application of your product.
We carry the Norvel mitt in spa for purchase, but we also love this mitt because its soft velvety exterior applies the self-tanner mousse smoothly and evenly.

Tanning mitts will last you a handful of uses so having a backup is a good idea. With most mitts, you can just hand wash them with some gentle soap and allow them to air dry.
Step 5: Apply in sections: bottoms up!
Start from the bottom and work your way up. Spray the mousse onto your mitt. Apply the self-tanner in sections (the lower legs, upper legs, then the torso, back, followed by the arms). Massage the self-tanner into your skin in a circular motion watching for streaks. Be sure to skip your face, hands, feet, knees, and elbows and save them for the next step – they take some fine-tuning.
Step 6: Save your face, hands, feet, knees, and elbows for last.
The extra solution on your mitt should be just enough to finish off your hands, face, and feet. For the hands, you are just going to do a light brushing using a feathering technique sweeping the mitt from the top of the wrist over your hand and fingers to your nails. For your knuckles, bend your fingers (almost like a fist or claw) and continue with a light tapping to get extra coverage in the creases. Use this same technique for your feet and toes.
Pro Tip: Apply some lotion as a barrier around your cuticles to prevent the tanner from settling in the creases and appearing darker.
The face requires just a light dusting; just lightly and quickly skim the mitt in an upwards motion starting on your neck/chin.
For your knees and elbows, the remaining tanner on the mitt should be enough for another light dusting. Because the elbows and knees have more texture and tend to be drier than the rest of your skin, they can bronze darker than other areas. If necessary, you might take a damp towel and dab the area to “dilute” the product.
Step 7: Wash your hands thoroughly.
Once you’re finished you might look at your palms and think, “they’re fine” but in about 4 hours the solution will develop, and you’ll look like you tanned your palms too. So always, after you’ve finished scrub the PALMS of your hands with an exfoliator or my favorite tan remover soap. Just dollop a small amount of your sugar scrub in the middle of your palms and gently rub your hands together. Take caution when rinsing to NOT get the backs of your hands wet.

Step 8: Blot and dry.
Wait at least 15 minutes before you get dressed. If you get dressed while the tanner is still sticky your clothing can leave creases on your skin resulting in streaking or unevenness. You may need to blot the sticky areas dry or apply powder to areas that tend to get sticky (underarms, back of knees, inner thighs, cleavage). In a pinch, I even used a hair drier.
Select loose-fitting clothing to wear for the next 4 hours. I recommend wearing dark-colored clothing as the product will rub off. It is critical to avoid water and sweating. If you get wet, it will begin to neutralize and wash away the self-tanner resulting in an uneven glow. So, no dishes!
Step 9: Give it time.
Norvell recommends waiting 4-8 hours before showering. The longer you wait, the darker the tan. Some lines even suggest 24 hours! If you are applying a bronzing tanner at night before bed and plan on rinsing off in the morning you might want to put down some towels or use some older sheets to avoid the product rubbing off on your bedding.
Step 10: Rinse + moisturize.
For your first shower post application, it’s just a quick rinse – do not use any harsh soaps, exfoliators, or scrubs. Once you are rinsed off pat dry (DO NOT RUB) and moisturize. Did you miss that? Moisturize! While the Norvell line has antioxidants and hydrating ingredients moisturizer is the key to a natural long-lasting tan – so immediately apply your body lotion post-shower.
Moisturizing doesn’t stop after the first shower! Apply your body lotion twice daily to ensure beautifully hydrated skin. Blotchy tans begin to happen when your skin becomes dry, and the solution begins to flake away.
Our favorites:
With those 10-steps you should be sun-kissed without the harmful UV exposure of actually sizzling in the summer sun. So, follow those self-tanner tips on how to apply self-tanner so that it’s even, and more importantly, so it lasts!
xoxo,
Beth

